
After making it, I split the milk into 2 glasses to make 2 different variations.
Here is how I made it, I realize this is not the best way or the way other people might make theirs. This is what I did and it was super easy and delicious. Normally I have heard that you should soak the almonds about 24 hours or more to let the almonds moisten and soften. I did not want to wait because I knew if I did, I would not go through with it, I would eat the almonds or have to store a bowl of soaking almonds on our already small counter for 1-2 days. So I used our Keurig brewer.
I put the almonds (roughly 1 1/4 cups) into a glass baking dish, and placed it under the drip of the brewer. I made sure there was no Kcups inside, and brewed 12 oz. of water (hot). I let this soak and cook in the hot water for about 15 minutes. I then drained the almonds and thought I would try peeling the skins off. Wow, incredibly easy. The skins basically slipped off, when I pinched an end of the almond. Only 2 flew across the kitchen. :) I then separated the naked almonds from their brown suits (skins) and brewed 12 more ounces of water. I then got out my Magic Bullet (sadly I do not have a Vitamix) and put the bare almonds in and slowly poured half of the hot water into the blender. Now why did I add hot? I read on a blog recently that someone used hot water to make their Almond milk and the heat made it creamier and frothy. Well I guess they were right, because mine did turn out nice and white, creamy and normal looking. I kept opening the blender to check to see the consistency, and needed the entire rest of the water. I had put the entire 12 ounces of hot water into the blender and after a few short bursts at 20-30 second intervals, I had MILK.


It smelled really aromatic and looked great. It was still very hot but had a nice taste. It was still pretty lumpy and it would need to be extracted/strained. I put it in my freezer for about a minute to cool it while I started cleaning up. We do not have much counter space so I needed to make a clean area. I was ready to extract. I got to try out my new nut milk bag that I received to review. I had intended to use the bag to make some sort of herbal oil infusion for skin care(I had made some Calendula infused oil a few weeks prior with another bag) but this Almond Milk looked like it was going so well. (It actually was.)
The Nut Milk bag by Vita is quite nice. It seems sturdy and did not tear or unravel at the seams while I was squeezing it. I REALLY squeezed it. I had put the bag over a mug, and put the mug inside a large bowl in case this got really messy (it did). I was impressed with the amount of white milk that was coming from the bag into my mug. The pulp was still a bit hot from the hot water, so if you do it this way, please be warned--it was still pretty hot on my bare hands. The pulp from the Almonds was staying in the bag and pretty soon was starting to feel and look powdery as I was getting all the milk I could squeeze.


I squeezed until the nut pulp felt almost powdery and gritty. I then tasted the extracted milk, it was pleasant and smooth. There was not one bit of pulp in the mug. This was pure un-sweet almond milk with no added chemical preservatives or additives. I normally have had the store bought kinds that have sugar or vanilla flavor added so this was quite different but enjoyable.
I put some of it aside as I was going to make a frozen smoothie treat. I eat 1-2 protein, Matcha tea, or green super food smoothies a day and I wanted to see what options I had for something different. I took about 8 of the 12 oz. of almond milk and put it in my blender with 1 large banana, 1 teaspoon of raw local honey, a few sprinkles of cinnamon, 2 caps of Pure Vanilla extract--I actually found some non alcoholic kind at our health food store. (Regular Pure Vanilla extract has 35% alcohol!!) and some ice cubes. Our cubes are large so I used 2. (Our ice cubes are probably the equivalent of 3 or 4 regular ice cubes. We use a silicone tray intended for freezing baby food so the cubes are quite large.) I blended that up and it was AMAZING. It was frothy and thick, with a nice sweetness. I healthy Almond Banana Honey Cinnamon Vanilla Shake. I need to find a shorter name for this treat.


.jpg)


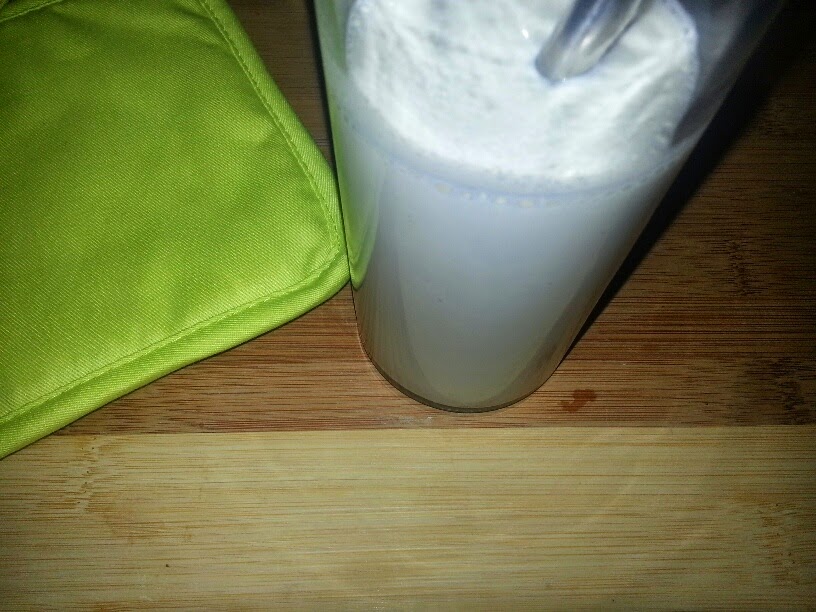
Here is the Milk that I set aside, only Almonds and Water. This is what I started with before making the smoothie. I left out a few ounces to try it plain. :)

Total Time: 47 minutes until the Milk was able to be enjoyed.
Items Needed and Soaking / Preparation: 15 minutes
1 1/4 cup Almonds
Roughly 12 oz Hot Water from my brewer to soak
Glass container to soak the Almonds
Removing skin of Almonds: 12 minutes
Divided Container to separate Almonds and skin or 2 bowls, divided bowl was convenient for me as I was sliding the skins off--seemed faster with them close together.
Remaining Time to prepare the Milk and Smoothie: 20 minutes
You will also need a strainer of some sort, such as the Vita Nut Milk Bag
The Nut Milk bag from Vita seemed to work well. I did not have any trouble getting milk out of the nuts, and the mesh was very fine yet sturdy. According to the company, you can make a variety of things with this bag such as Almond and other nut milks, cold brew coffee and juices. I would purchase 2 bags and keep one for food use and one for making herb infused healing oils for skin and hair. I would suggest marking the skincare oil one with a permanent marker to keep them separate. The size of the bag is 12" x 10"
It was durable and I did not have any tearing despite squeezing really aggressively on the bag. The bag washed up well under hot water in my sink. It does appear very wrinkled and shows the marks from wringing it (similar to a tie dye shirt, but without the colors). The wrinkles do not affect the bag.
The bag is available on Amazon: Vita Nut Milk Bag
I received one or more of the products mentioned above for free using Tomoson.com. Regardless, I only recommend products or services I use personally and believe will be good for my readers.
If you are looking for a good quality Nut Milk Bag then it's easy to buy it online from trusted and certified online dealers with quicker delivery time. Nut Milk Bag
ReplyDelete